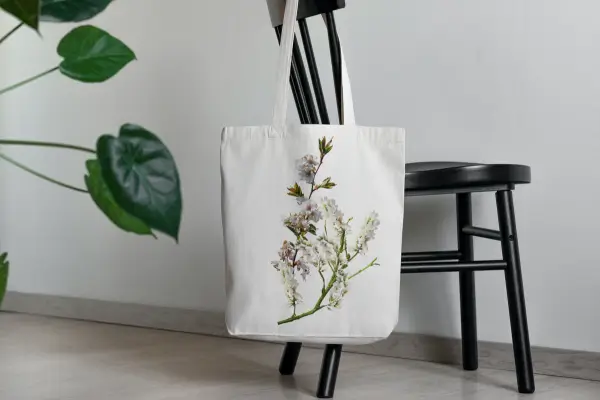
DIY fabric stamping is a creative way to personalize your clothes, accessories, and home textiles with unique designs.
This technique lets you create custom patterns using simple materials, with no need for expensive printing tools.
You can refresh old garments, design your own tote bags, or add a personal touch to curtains and pillowcases.
It’s affordable, beginner-friendly, and flexible enough for any creative style or level of experience.
In this guide, you’ll learn what you need and how to get started stamping fabric like a pro.
Why Choose Fabric Stamping?
Fabric stamping is becoming increasingly popular for several reasons:
- Affordable & Accessible – You don’t need professional tools; many stamps can be handmade from household items.
- Customizable – You can create endless patterns, mix colors, and layer designs.
- Eco-Friendly – Fabric stamping allows you to upcycle old clothes instead of buying new ones.
- Beginner-Friendly – No prior artistic skills are required, making it a great DIY project for all ages.
Materials You’ll Need
Before getting started, gather these essential materials:
1. Fabric Choices
- Cotton, linen, or canvas – Natural fabrics absorb paint better.
- Pre-washed fabric – Washing removes sizing agents that can block paint absorption.
2. Stamps
- Pre-made rubber stamps – Available at craft stores.
- DIY stamps – Made from potatoes, foam sheets, linoleum blocks, or carved erasers.
- Leaves, lace, or textured fabrics – Used to create organic and intricate patterns.
3. Paint and Ink
- Fabric paint or textile ink – Ensures the print is washable and long-lasting.
- Acrylic paint with fabric medium – Works as an alternative to fabric paint.
4. Application Tools
- Foam rollers or sponges – Help distribute paint evenly on stamps.
- Brayer (ink roller) – Ensures smooth and uniform paint application.
- Palette or tray – For mixing colors.
5. Fixing and Sealing
- Iron – Heat sets the paint to make it permanent.
- Parchment paper – Prevents paint transfer when heat setting.
Step-by-Step Guide to DIY Fabric Stamping
Step 1: Prepare Your Fabric
- Wash and dry your fabric before stamping to remove any coatings.
- Iron the fabric to create a smooth working surface.
- Place a cardboard sheet or old towel underneath to prevent paint from seeping through.
Step 2: Create or Choose Your Stamps
If you want to make DIY stamps, here are some easy methods:
- Foam Stamps – Cut shapes from craft foam and glue them onto a wooden block or bottle cap.
- Potato Stamps – Slice a potato in half and carve out a simple shape.
- Carved Erasers – Use a craft knife to etch out a design on an eraser.
- Leaf or Lace Prints – Press leaves or lace fabric into the paint and stamp directly onto the fabric.
Step 3: Apply Paint to the Stamp
- Pour a small amount of fabric paint or textile ink onto a tray.
- Use a sponge or roller to evenly coat the stamp with paint.
- Avoid excess paint to prevent smudging.
Step 4: Stamp the Fabric
- Press the stamp firmly and evenly onto the fabric.
- Hold for a few seconds, then lift straight up to avoid smudging.
- Repeat the process, spacing the stamps evenly or creating overlapping patterns.
- Let each layer dry before adding new colors or overlapping designs.
Step 5: Heat-Set the Design
To make the design permanent:
- Allow the fabric to dry for at least 24 hours.
- Cover the stamped area with parchment paper and iron on medium heat for 3–5 minutes.
- If using a dryer, tumble dry the fabric for 15–20 minutes on low heat.
Creative Design Ideas
1. Custom Clothing Prints
- Stamp geometric shapes onto t-shirts for a modern, minimalist look.
- Use a single-color floral stamp to refresh old dresses or skirts.
- Personalize denim jackets with bold hand-carved patterns.
2. Unique Tote Bags and Accessories
- Print monograms or initials for personalized tote bags.
- Use nature-inspired stamps like leaves or flowers for a rustic touch.
3. DIY Home Décor Textiles
- Stamp pillowcases, napkins, or table runners to create custom home décor.
- Use a tribal or ethnic-inspired pattern for an artistic look.
Tips for Achieving the Best Results
- Test before stamping – Try printing on scrap fabric before applying to the final piece.
- Use multiple stamps – Combine different shapes and sizes for a layered effect.
- Clean stamps immediately – Wash with warm soapy water to prevent dried paint from ruining future prints.
- Experiment with color mixing – Blend shades to create unique, custom hues.
- Space out stamps evenly – Use a ruler or chalk markings for precise alignment.
Why Fabric Stamping is the Perfect DIY Project
Fabric stamping is a fantastic way to breathe new life into plain fabrics while adding a personal touch to your wardrobe and home décor. Unlike traditional screen printing, it requires minimal supplies and can be done by beginners or seasoned DIYers alike.
This technique encourages creativity, sustainability, and customization at a fraction of the cost of store-bought printed textiles. Whether you’re making gifts, personalizing your fashion, or simply having fun with colors and patterns, fabric stamping is a rewarding and accessible craft to explore.
So, grab some fabric, make your own stamps, and start experimenting with this fun and eco-friendly way to personalize textiles!


